Portrait Challenge
The more we practise the portrait, the more we can perfect our skills as an artist. Exploring portraiture will give you skills and abilities to draw anything in the natural world. You just have to learn the principals of nature. It could take years, it could take months, but perseverance will develop your muscle memory like no other. Just keep going. Understanding nature involves time and repetition, so we are going to start our explorative journey with the self portrait.
What better way to begin your practise that than by using your own face as a subject to draw from. Let’s face it (don’t excuse the pun), we would all love to see ourselves up in lights one day, or in this case up on easels. And also, this will remove the pressure of someone else’s face and not quite looking as recognisable as you may have expected.
Also on the plus side, here are the benefits of drawing a self portrait rather than hiring a model:
1. Cheaper
2. You can continue in your own time
3. If you move, you are full licence to get annoyed at the model
4. You have the time to set the scene and control lighting and position
5. You know your face much better than anyone else’s
The one downfall however, is that you can only see yourself from a few angles. Our eyes look forward which kinda limits us if we are looking into a mirror. We cannot look sideways like a fish, so we are stuck with classical side on poses, or if you want to be a bit more intimate, you can look straight on. It also saves you the neck ache of a side glance!
But, I decided to go against all of this advice and I took a picture instead, I would advise you to do the same to start off with.
So here’s my face. This is Me. Straight on, a slight smile because I am often told how miserable I look without this. (I honestly don’t know what they are talking about but it’s not worth the risk). I think I look a little drunk but in the theme of dry-january, I can assure you I am not (sadly).
In order to draw a portrait. I would like you to follow this simple instructions.
TIP – a good way to decide on the angle of a line is to imagine the line is a hand on a clock. If the line is pointing straight up, it is pointing to 12/6. If the line is horizontal, it is pointing to 3/6 for example.You get the idea.
Step 1 – Vertical Orientation
Draw a line between the eyebrows and the chin.
Notice what angle that is. (6:30)
Step 2 – Horizontal Orientation
Chop the face into 3 sections
1 - Bottom of the Chin to the bottom of the nose
2 – Bottom of the nose to the top of the eyebrows
3 – Top of the Eyebrows to the hair line.
TIP – 2/3 sections are usually of a similar size. Which means you can use this as a measuring unit! The third section, and it can be any section, will be slightly larger or smaller than the other 2.
Now, you should have some proportions and the correct orientation!
For my face, my chin and forhead are about the same size and my middle third is a big bigger.
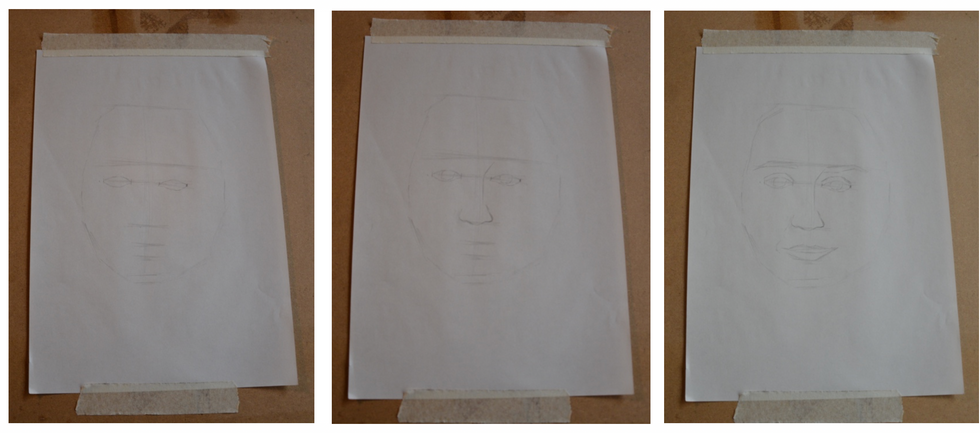
Step 3 – Figure out where the important bits go (Through the iris, through the lips etc. You can decide how many lines are important, but don’t draw to many as it can get confusing)
NOTICE – All the lines are parallel to each other. Check your lines, check them now!
Step 4 – Measure an eye, and see how many times it will fit on the eye axis. My eye fits in-between my eyes once. Brilliant. That’s 3 eyes widths on my axis. Medusa eat your heart out.
Step 5 - Ok awesome, so now we have the proportions. Without the proportions, we won’t recognise ourselves. For example, if I had drawn this with a longer chin, I might be mistaken for my mother (no offence mum). So in order to keep my identity, I have to make sure all the elements are in the right place. Now it is time for the fun part, start drawing the edges of the features. (I don’t teach my students this so if you are reading, ABORT, ABORT, ABORT!)
TIP – Remember to look at the angels of lines and compare that to time.
2nd TIP – Keep the pencil light! We want to be able to erase our errors later.
At this stage you may feel frustrated, angry. WHY DOESN’T IT LOOK LIKE ME YET?!
Well, we have a whole year to get better, so chill out man/ woman. I feel these things also when I am drawing but I trust the process, and the end result will shock you! Trust me.
Stet 6 – Shading!
Yes, another fun part! That’s because drawing is fun and I hope you have remembered this.
Recognise which part of the face is darker. And get an average value of grey down. Don’t be scared, just get it on.
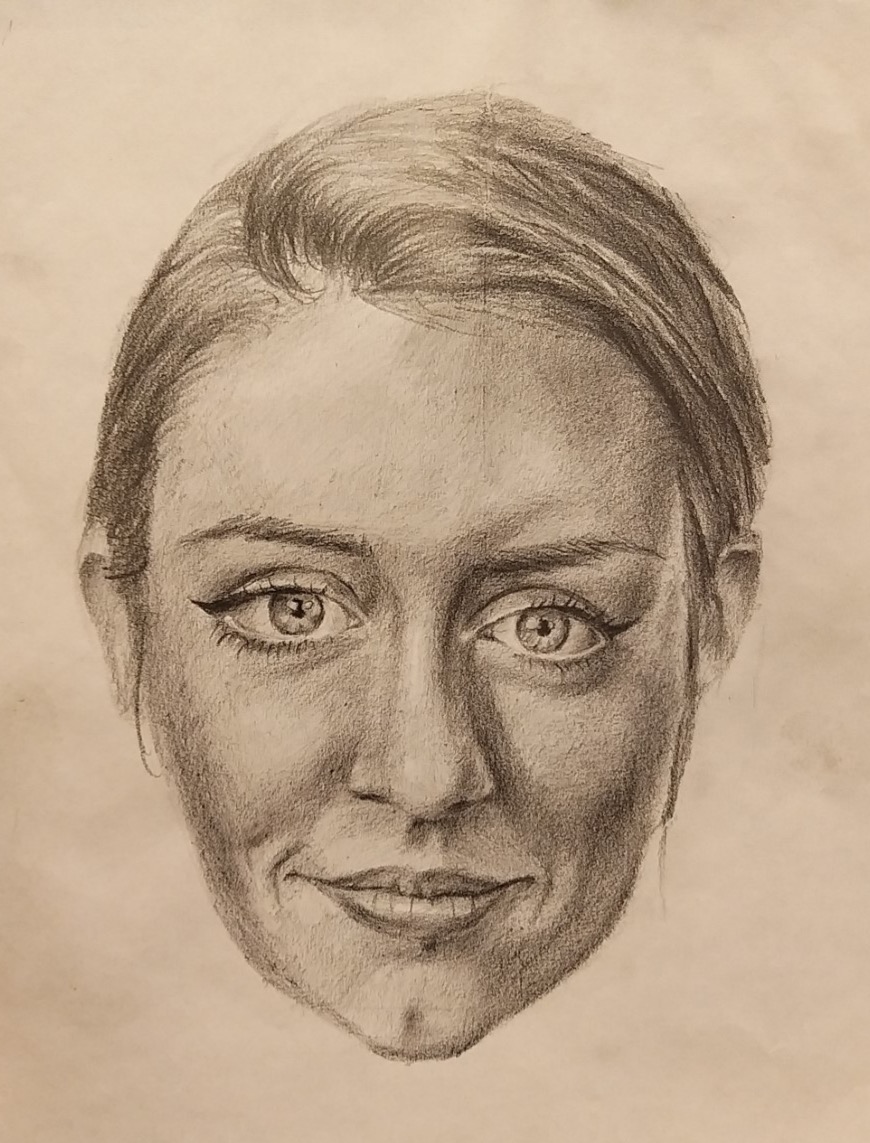
Now, you can be left to your own devices and keep shading until your heart is content. I will leave you with my own process for some inspo.
Tadar! There we have a self-portrait.
To summarise :
Step 1 – Identify the vertical orientation
Step 2 – Identify the horizontal orientation
Step 3 – Figure out the important bits (horizontally)
Step 4 – Place the eyes
Step 5 – Draw the edges (lightly)
Step 6 – Shade
Finished
I look forward to seeing you.


Comments